Photo by Joan Gamell on Unsplash
Leveraging OpSec's VPS to deploy a Node Server up and running
Empowering Deployment: Harnessing OpSec's VPS to Launch and Scale Your Node.js Server
In this blog post, we'll explore how to deploy a Node.js server on OpSec's VPS (Virtual Private Server) hosting platform. OpSec offers powerful VPS hosting solutions that provide dedicated resources, full control over server configurations, and robust security measures. By leveraging OpSec's VPS, you can deploy and manage your Node.js server easily, ensuring security and scalability for your projects.
OpSec's VPS Hosting Features
1. Virtual Private Servers (VPS)
OpSec's VPS hosting offers dedicated computer resources for your projects. Unlike shared hosting, where resources are shared among multiple users, VPS hosting provides dedicated resources, ensuring optimal application performance and stability.
2. Dedicated Resources
With OpSec's VPS hosting, you have dedicated CPU, RAM, and storage resources for your projects. This means you have full control over the server's resources, and you can allocate them based on your project's requirements.
3. Scalability
OpSec's VPS hosting is highly scalable, allowing you to easily scale your resources as your project grows. Whether you need more CPU power, additional RAM, or extra storage space, you can easily upgrade your VPS plan to accommodate your project's evolving needs.
Deploying a Node Server on OpSec's VPS
Now, let's dive into the process of deploying a Node.js server on OpSec's VPS.
Step 1: Sign Up for OpSec's VPS Hosting
If you haven't already, sign up for OpSec's VPS hosting service. Choose a plan that best fits your project's requirements and proceed with the registration process.
Step 2: Access Your VPS via SSH
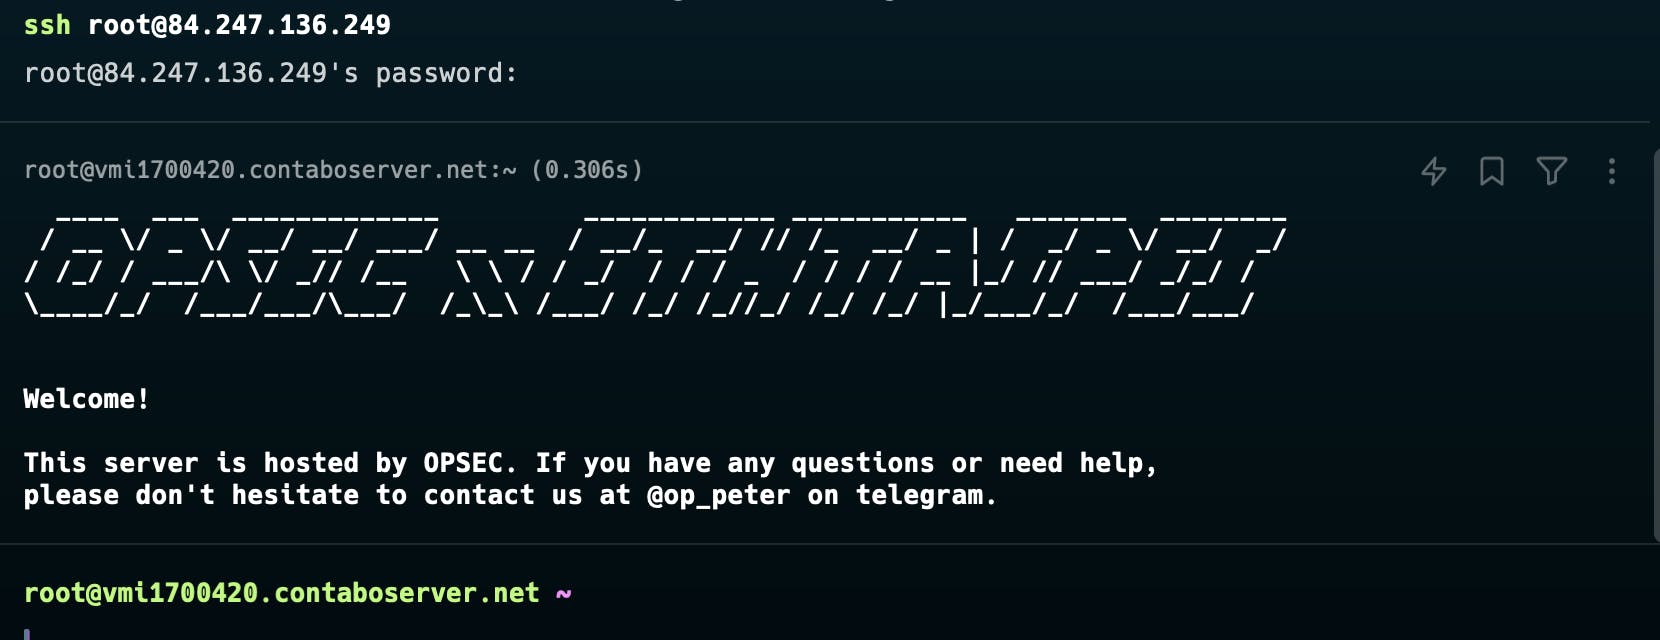
Use SSH (Secure Shell) to connect to your VPS from your local machine. You can use a terminal application to SSH into your VPS using the provided credentials.
ssh username@your-vps-ip
After that, you enter the password for accessing your server.

Now you can accesss your remote server from you local machine.
Step 3: Install the basic dependencies for the Node
If Node.js is not already installed on your VPS, you can install it using your package manager (e.g., apt for Ubuntu). Additionally, install any dependencies required by your Node.js application.
You can check your OS with the compound
sudo cat /etc/os-release
An example output for the Ubuntu.

If you are using Ubuntu follow these steps.
sudo apt update
sudo apt install nodejs npm
Now verify the node version, it it is low you can use nvm i.e. node version manager to download the LTS (Long Term Support) version.
curl -o- https://raw.githubusercontent.com/nvm-sh/nvm/v0.39.0/install.sh | bash
Now verify if the nvm is installed correctly by checking the version.
nvm -v
We will now install the LTS version of node and use it so that we have updated version and can use the latest features of the NodeJS.
nvm install --lts
nvm use --lts
node -v
We got the 20.11.1 version as LTS so you will get the latest LTS version.

Step 4: Install Git for the version control system
To begin, let's install Git on our server. Git is a widely used version control system that helps you track changes in your project's source code.
sudo apt update
sudo apt install git
Once the installation is complete, you can verify that Git is installed by checking its version:
git --version
This command should display the installed version of Git.

That's it! Git is now installed on your server, allowing you to effectively manage your project's source code.
Step 5: Bring your code to the server
We'll use Git to clone the repository from a remote source onto our server.
- Navigate to the directory where you want to store your project's code. For example, you might create a directory named
projects:
mkdir ~/projects
cd ~/projects
- Clone your project's Git repository onto the server. Replace
<repository_url>with the URL of your Git repository:
git clone <repository_url>
For example:
git clone https://github.com/Kubera-ETHTaipei/backend
Once the cloning process is complete, you will have a copy of your project's code on the server.
Install the dependencies and add the environment variables if necessary.
 cd backend
 npm i
 touch .env
Now add the value by opening it in vim editor like
vi .envYou need to press i to insert and after making changes press :wq to save the changes and quit the file.
That's it! Your project's code is now on the server, ready to be deployed and run. You can proceed with configuring and setting up your project as needed.
Step 6: Run Your Node.js Server
Start your Node.js server using Node.js. You can run your server in the background using tools like pm2 to ensure it continues running even after you close the SSH session.
npm install -g pm2
cd src
pm2 start server.js
Step 7: Access Your Node.js Application
Once your Node.js server is up and running, you can access your application using your VPS's public IP address or domain name in a web browser.
http://your-vps-ip:port
You can check the IP Address of your server by running
curl ifconfig.me
Replace your-vps-ip with the IP address of your VPS and 3002 with the port on which your Node.js server is running. Note we have used the 3002 port for our covineince, it is more likely that you encounter port 3000 in the majority of the standard cases.
Now you can confirm it by calling the node server from your local machine terminal.
curl http://your-vps-ip:port/

Conclusion
In this blog post, we explored how to deploy a Node.js server on OpSec's VPS hosting platform. By leveraging OpSec's dedicated resources, full control over server configurations, and robust security measures, you can deploy and manage your Node.js applications with ease. Whether you're running a small-scale project or a large-scale application, OpSec's VPS hosting provides the scalability and reliability you need to ensure the success of your projects.
